Getting Started
This page covers installing SuperDex, opening the example assets, and building SuperDex Studio from source. For a tour of the application, see the Overview.
Quick Start (Python)
Project SuperDex has first-class Python support. Follow the Python quick-start instructions to install SuperDex.
After installation, follow these steps:
- Launch SuperDex Studio with
uv run --no-project superdex-studio. - In Studio, select File → Add Folder to Workspace…, then open
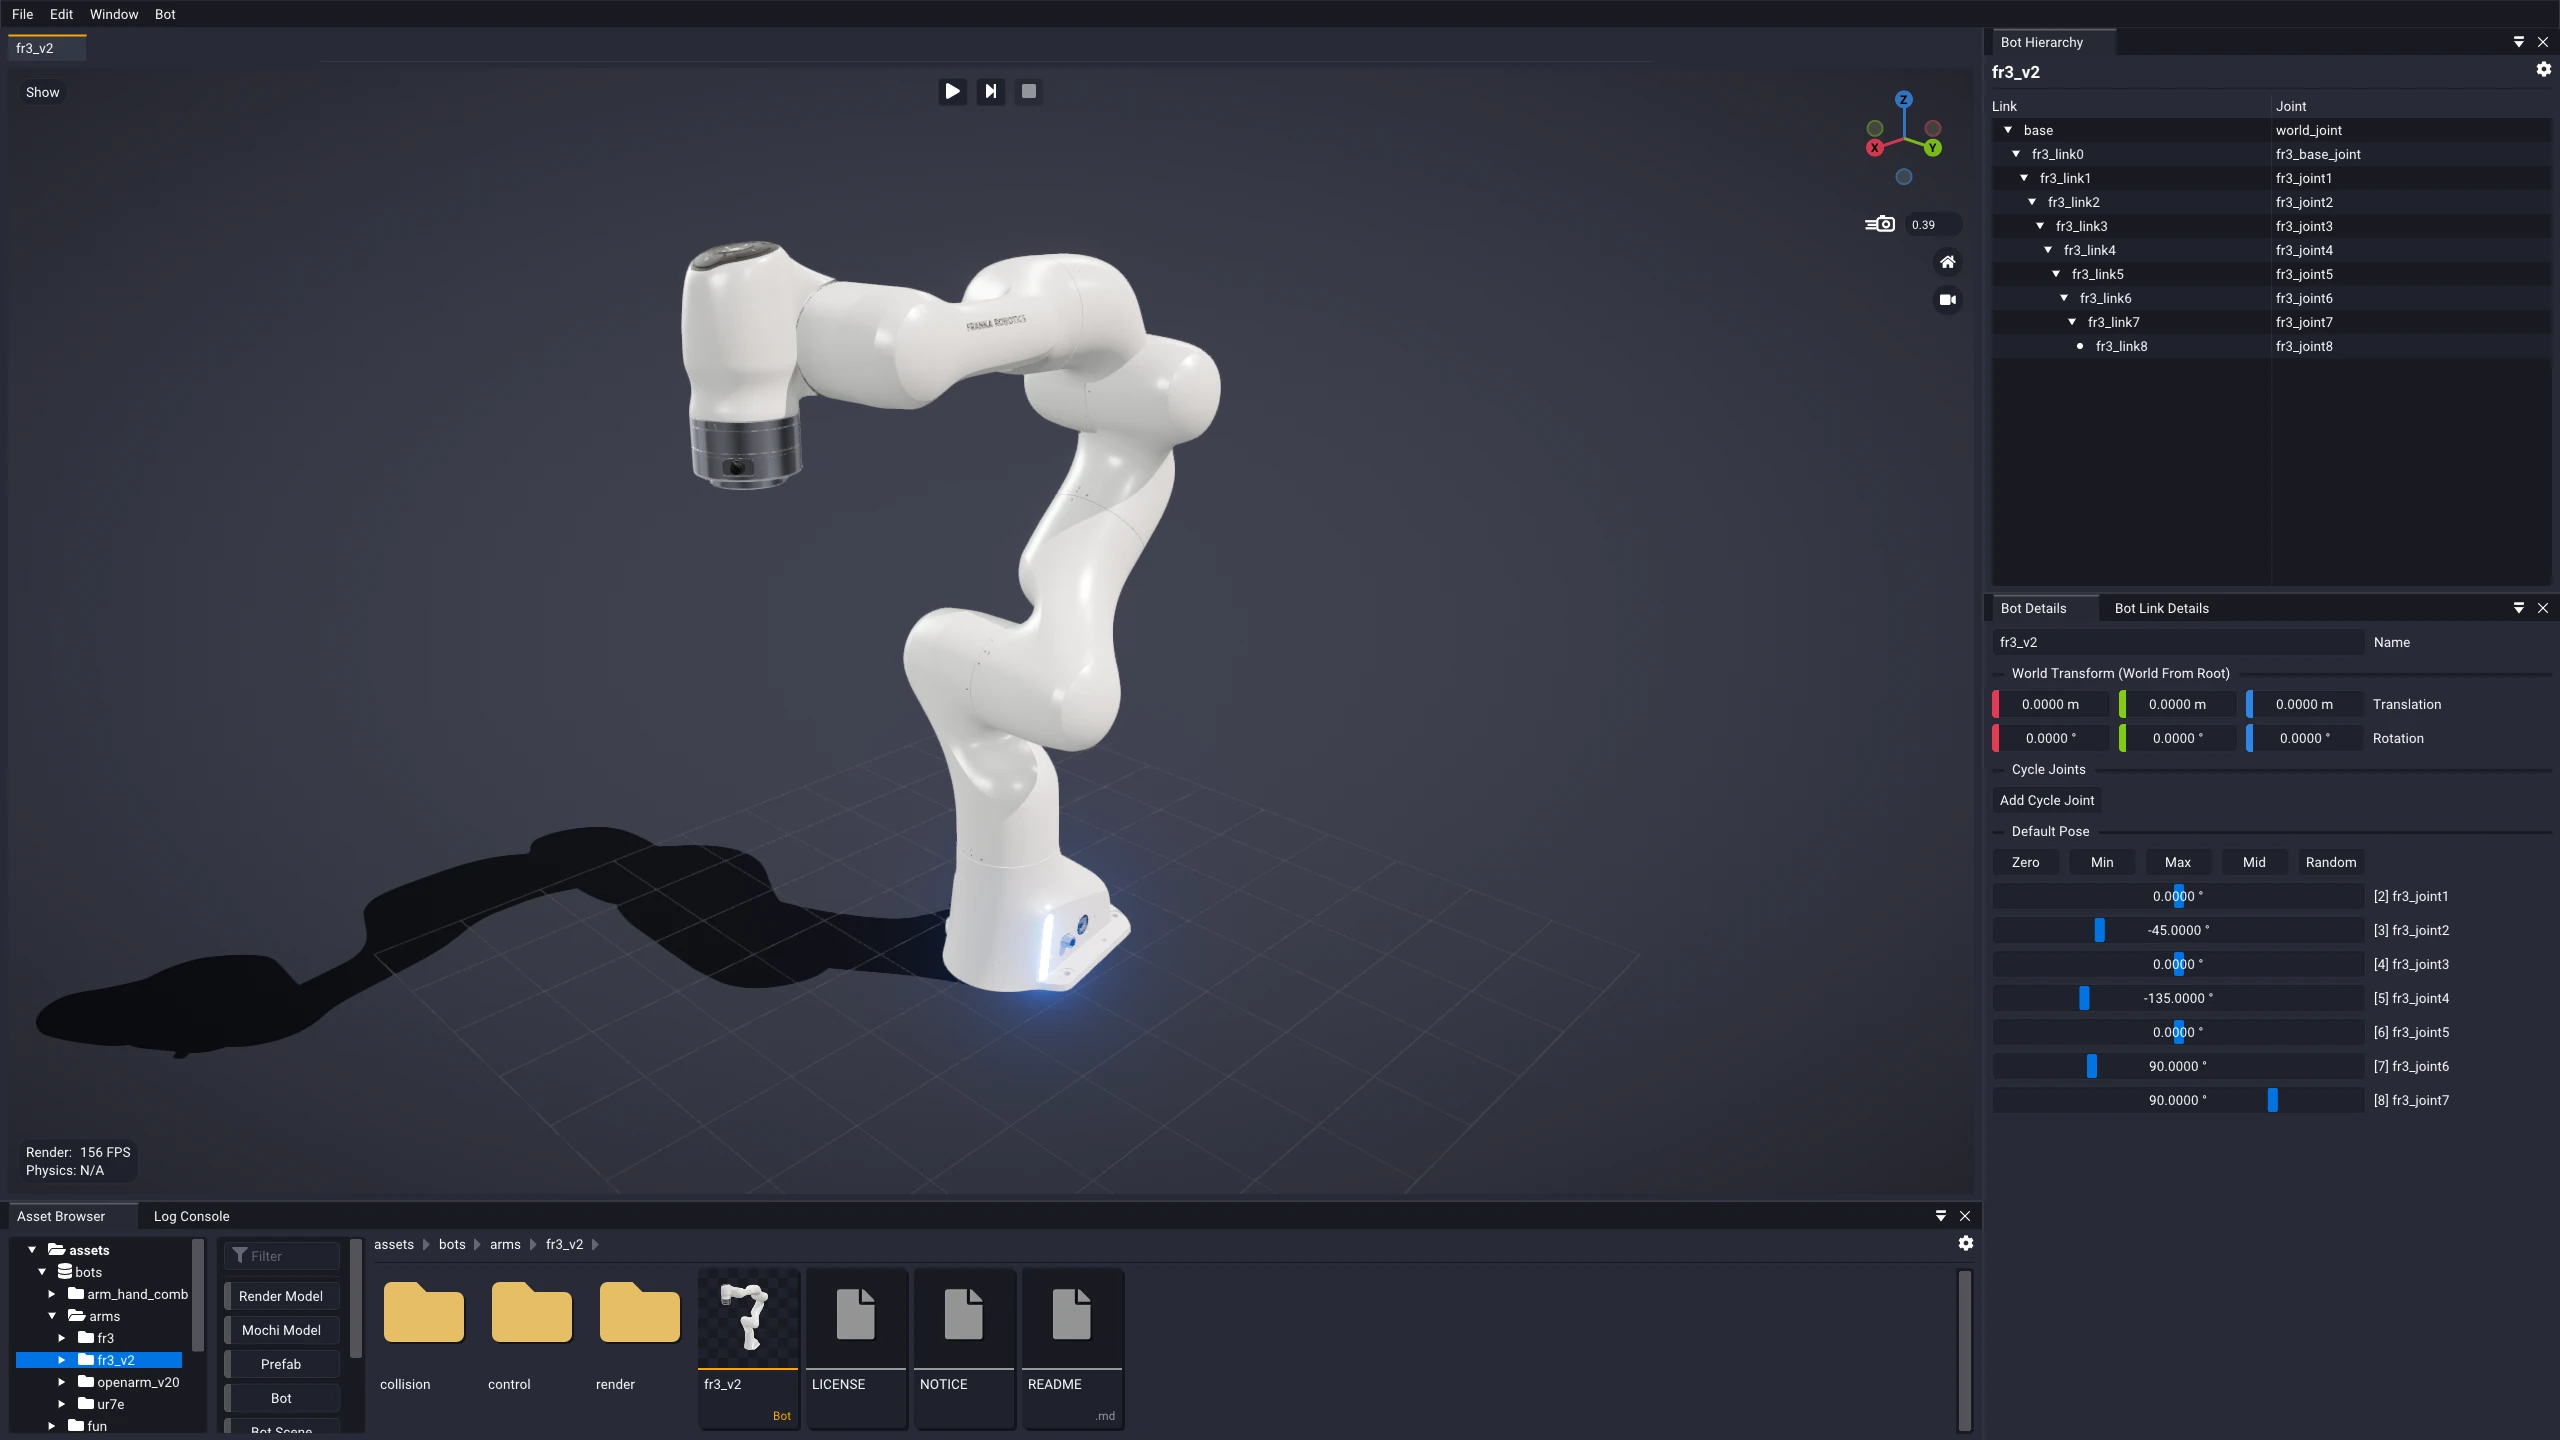
project_superdex/assets/botsorproject_superdex/assets/prefabs. - In the Asset Browser, open one of the provided example bots, prefabs, or 3D models.
SuperDex Studio has separate editors for bots, prefabs, and 3D models. Use the Bot Editor to import and edit bots, the Prefab Editor to create and edit prefabs, and the Model Editor to refine 3D models.
Building from Source (Python)
Follow the Project SuperDex Python build instructions.
Building from Source (C++)
Studio also builds with CMake by enabling -DSUPERDEX_BUILD_STUDIO=ON.
- Follow steps 1–3 of the Project SuperDex C++ build instructions to get the source code, install the prerequisites, open the Windows developer shell when applicable, and enter the repository root.
- Configure the build to include Studio:
cmake -B build -DCMAKE_BUILD_TYPE=Release -DMOCHI_BUILD_DEBUGGER=OFF -DMOCHI_USE_PYBIND=OFF -DSUPERDEX_BUILD_STUDIO=ON -G Ninja - Build:
cmake --build build --parallel - Run Studio from
build/bin:./superdex_studioon Linux or macOS, orsuperdex_studio.exeon Windows.
Studio is not enabled for CMake builds by default because it needs desktop graphics dependencies that a headless build does not.